
Independent guidance for making smarter, safer decisions across the Apple ecosystem.
Losing access to an Apple Account does not just mean a locked iPhone. It can mean losing years of iCloud photos, purchased apps, Apple Pay cards, and every password stored in iCloud Keychain — all at once. Apple’s recovery system has multiple layers, and understanding each one before you need it is the only way to avoid a permanent lockout. This guide covers every tool in your Apple Account recovery plan, explains the risks that come with each, and ends with a step-by-step annual drill you can complete in under thirty minutes.
Key Takeaways
- Two-factor authentication (2FA) is mandatory for most Apple services and is the foundation of every other recovery option.
- Trusted devices and trusted phone numbers are your everyday first line of defense — keep them current.
- A recovery contact lets a trusted person generate a code for you without ever seeing your password.
- A recovery key is a powerful 28-character code that, once enabled, disables Apple’s standard account recovery — losing it without a backup is a serious risk.
- Hardware security keys (FIDO2) offer the strongest phishing protection but require careful planning before enabling.
- A password manager and secure document storage are practical complements to every option listed above.
- Apple’s exact steps and options change with software updates — always verify current guidance at support.apple.com before making changes.
What Is Two-Factor Authentication and Why Does It Underpin Everything?
Two-factor authentication requires both your password and a six-digit code sent to a trusted device or phone number before Apple grants access to your account. As of 2026, 2FA is required to use features including iCloud+, Apple Intelligence, and the App Store on new devices [12]. Without it, none of the advanced recovery options below are available.
When you sign in on a new device, Apple sends a verification code to every trusted device logged into your account. If no trusted device is nearby, Apple can send an SMS to a trusted phone number instead. The critical point: if you lose access to both your trusted devices and your trusted phone number simultaneously, you are dependent on account recovery — which can take days or longer [2].
Keeping 2FA active and keeping your trusted phone number current is the single highest-leverage action most users can take.
How Do Trusted Devices and Phone Numbers Protect Your Account?
A trusted device is any Apple device — iPhone, iPad, or Mac — where you are already signed in with your Apple Account and that has 2FA enabled. Apple uses these devices to deliver verification codes and to confirm your identity when you reset a password [1].
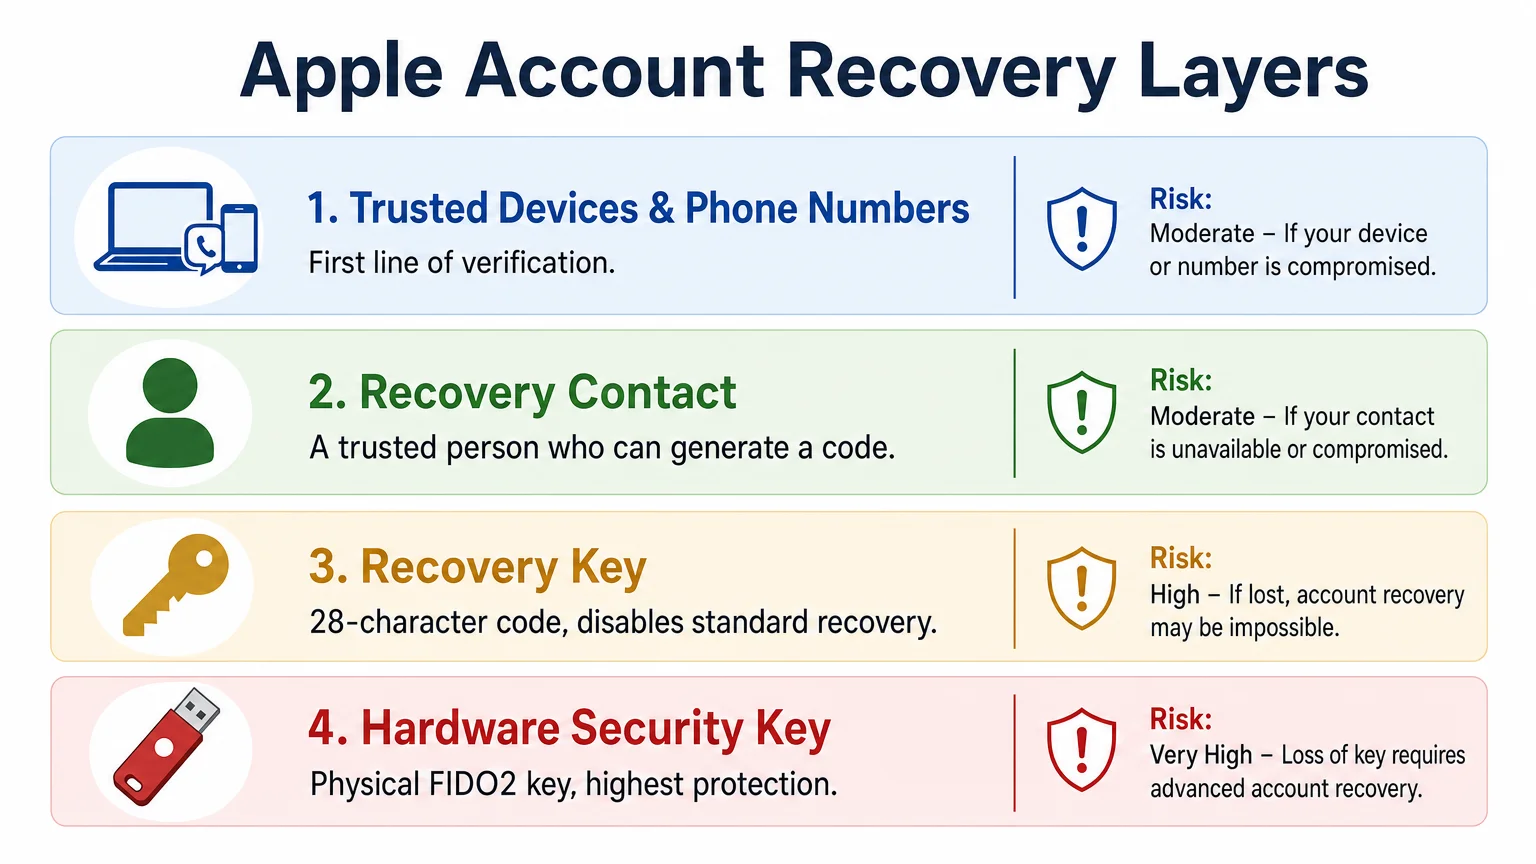
A trusted phone number is a mobile or landline number that can receive an SMS or automated call with a verification code. Apple requires at least one trusted phone number on every account with 2FA enabled. Best practice is to add a second number — a family member’s mobile, for example — so that a lost or broken primary phone does not cut off all SMS-based verification [1].
What to check right now:
- Open Settings → [Your Name] → Sign-In & Security on iPhone or iPad.
- Confirm every trusted phone number is still active and accessible.
- Remove any old numbers from devices you no longer own.
- On a Mac, go to System Settings → [Your Name] → Sign-In & Security.
Apple’s Personal Safety documentation specifically flags that removing a trusted phone number without adding a replacement can create a lockout risk [1].
What Is a Recovery Contact and When Should You Set One Up?
A recovery contact is a person — a family member, close friend, or trusted colleague — who can help you regain access to your account if you are locked out. When you request recovery, Apple sends a code to your recovery contact’s device. They share that code with you, and you use it to reset your password [3].
The recovery contact never sees your password and cannot access your account directly. They only receive a temporary code on their own device. Requirements: the contact must be 13 or older, have an Apple device running iOS 15, iPadOS 15, macOS Monterey, or later, and have 2FA enabled on their own account [3].
To set up a recovery contact:
- Go to Settings → [Your Name] → Sign-In & Security → Account Recovery.
- Tap Add Recovery Contact and choose someone from your contacts.
- Apple sends them a notification they must accept.
A recovery contact is the most human-friendly safety net in the system. It works well for most users who have a trusted person available with an Apple device.
What Is a Recovery Key and What Are the Risks of Enabling One?
A recovery key is a randomly generated 28-character alphanumeric code that gives you an alternative path to reset your Apple Account password. Once you enable a recovery key, Apple disables its standard account recovery process — meaning Apple’s support team can no longer help you regain access if you lose both your trusted devices and your recovery key [4].
This is the most important warning in this entire guide. Apple’s own documentation states clearly: “If you lose access to your account and don’t have your recovery key, you may not be able to get back in” [4]. The recovery key does not replace your password or your trusted devices — it supplements them. But it removes the safety net Apple would otherwise provide.
If you choose to enable a recovery key:
- Store the 28-character code in at least two physically separate locations.
- One copy belongs in a password manager (1Password, Bitwarden, or similar) with a strong master password.
- A second printed copy should go in a fireproof document safe or a safety deposit box.
- Never store the only copy in iCloud Notes — if you are locked out of your account, you cannot access iCloud Notes.
To generate a recovery key: Settings → [Your Name] → Sign-In & Security → Recovery Key → Turn On [4][5]. Apple will display the key once and ask you to confirm it before activation.
What Are Hardware Security Keys and Who Actually Needs Them?
Hardware security keys are physical FIDO2-certified devices — small USB or NFC dongles from manufacturers like YubiKey — that replace the six-digit 2FA code with a cryptographic handshake. Because the key must be physically present, phishing attacks that steal 2FA codes become ineffective [7].
Apple added support for hardware security keys for Apple Accounts in 2023. To use them, you need at least two keys (Apple requires a backup), an iPhone or iPad running iOS 16.3 or later, or a Mac running macOS Ventura or later [7]. Once enabled, you must have a physical key to sign in on any new device.
Hardware security keys are genuinely worth considering for journalists, executives, attorneys, or anyone whose account is a high-value target. For most everyday users, a recovery contact combined with an up-to-date trusted phone number provides strong protection with far less complexity. The risk of enabling hardware security keys without a spare key stored safely is a hard lockout with no recovery path.
What Should You Prepare Before You Ever Lose Access?
The best time to build your Apple Account recovery plan is before anything goes wrong. The following checklist covers the practical preparation that makes every recovery option above actually work.
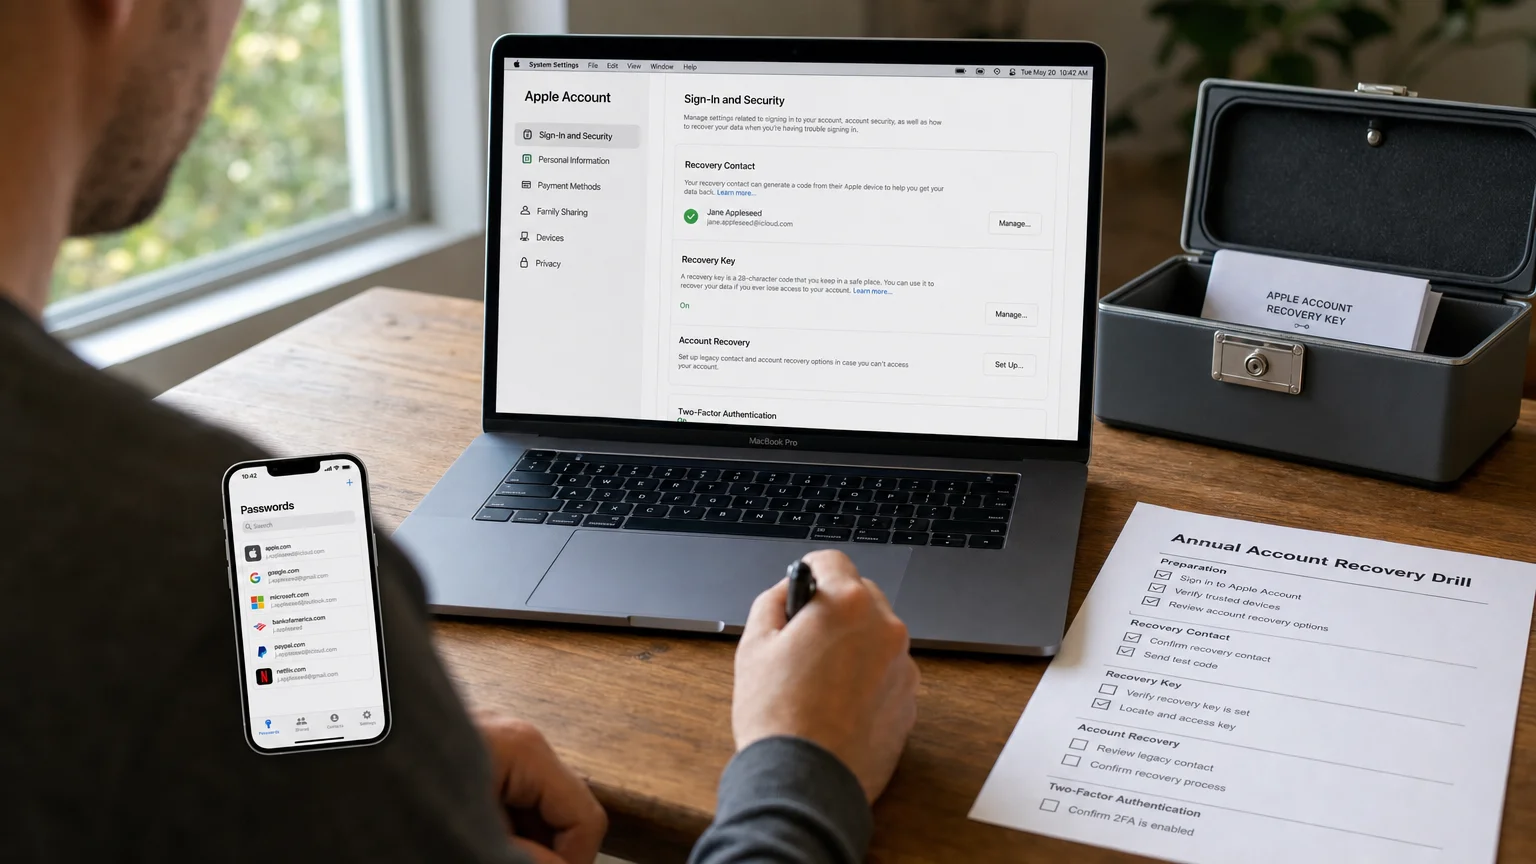
Pre-loss preparation checklist:
| Item | Action |
|---|---|
| Trusted phone number | Verify it is active; add a backup number |
| Trusted devices | Confirm all listed devices are ones you still own |
| Recovery contact | Set one up; confirm they accepted the invitation |
| Recovery key (optional) | Store in password manager + physical secure location |
| Hardware security keys | Purchase two; store backup key separately |
| Password manager | Ensure Apple Account password and recovery key are saved |
| Printed documentation | Store account recovery key offline in a fireproof location |
| Emergency contact knows their role | Confirm your recovery contact understands what to do |
For a broader look at securing your device ecosystem, setting up a privacy-first iPhone in 2026 covers complementary steps that reinforce account security at the device level. If your iPhone is ever lost or stolen, the steps in what to do if your iPhone is lost, stolen, or compromised depend directly on having this recovery plan in place first.
How Do You Run an Annual Apple Account Recovery Drill?
A recovery plan that has never been tested is a plan you cannot trust. Running a brief annual drill confirms that every layer of your recovery setup still works before you need it under pressure.
Annual recovery drill — step by step:
- Open Apple Account settings on your primary iPhone or Mac and review every trusted device listed. Remove any device you no longer own.
- Verify trusted phone numbers. Call or text each number to confirm it is still active and in your possession.
- Check your recovery contact. Open Settings → Sign-In & Security → Account Recovery and confirm the contact is still listed and has accepted. Send them a quick message to confirm they still have a compatible Apple device.
- Locate your recovery key (if enabled). Open your password manager and confirm the 28-character code is saved correctly. Check your physical backup copy.
- Verify hardware security keys (if enabled). Plug in or tap each key to confirm it still functions.
- Test your password manager. Confirm your Apple Account password is saved, up to date, and accessible from a secondary device.
- Review iCloud storage and subscription status. An expired payment method can disrupt iCloud access in ways that compound a lockout. The iCloud+ plans and value guide covers what to watch for.
- Document the date. Add a calendar reminder for twelve months from today.
The entire drill takes twenty to thirty minutes once the initial setup is complete. Doing it annually keeps every layer current as devices, phone numbers, and trusted contacts change over time.
Conclusion
An Apple Account recovery plan is not a one-time setup task — it is a living document that needs an annual review. The most common cause of permanent lockouts is not a sophisticated attack; it is an outdated trusted phone number, a recovery contact who changed devices, or a recovery key stored somewhere that no longer exists. Spend thirty minutes this month confirming every layer described here, and schedule the same check for next year.
For a broader look at device-level security, the guide to auditing your iPhone app permissions pairs well with the account-level work covered here. If you want to stay current as Apple updates its security features, subscribing to We Are MacWise keeps those changes in your inbox as they happen.
Sources
[1] Apple Support – Help prevent Apple Account and device lockouts - https://support.apple.com/guide/personal-safety/help-prevent-account-and-device-lockouts-ipsd1d39db18/web
[2] Apple Support – How to use account recovery when you can’t reset your password - https://support.apple.com/en-us/118574
[3] Apple Support – Set up a recovery contact for your Apple Account - https://support.apple.com/en-us/102641
[4] Apple Support – Set up a recovery key for your Apple Account - https://support.apple.com/en-us/109345
[5] MacPaw – How to create an Apple recovery key - https://macpaw.com/how-to/create-apple-recovery-key
[7] Apple Support – About Security Keys for Apple Account - https://support.apple.com/en-us/102637
[12] PanicVault – Set Up 2FA on Apple ID (2026) - https://www.panicvault.org/two-factor-authentication/setup-2fa-apple-id/
Frequently Asked Questions
What happens if I lose my iPhone and have no other trusted device?
If you have a trusted phone number on your account, Apple can send a verification code via SMS to that number, which you can receive on any phone. If you have a recovery contact set up, they can generate a recovery code for you. Without either, you will need to go through Apple's account recovery process, which can take several days and requires proof of identity [2].
Does enabling a recovery key make my account more secure?
It can, but it also removes Apple's ability to help you recover your account through standard support channels. If you lose your trusted devices and your recovery key simultaneously, you may be permanently locked out [4]. Only enable a recovery key if you have a reliable, tested storage plan for the key itself.
Can my recovery contact access my account or see my data?
No. A recovery contact only receives a temporary code on their own device. They cannot see your password, browse your iCloud data, or access any account information. They simply share the code with you so you can complete the recovery process yourself [3].
How many trusted phone numbers should I have on my account?
Apple requires at least one. Adding a second number — such as a partner's or family member's mobile — is strongly recommended. If your primary phone is lost, stolen, or broken, a second trusted number ensures you can still receive verification codes [1].
Are hardware security keys worth it for the average iPhone user?
For most people, no. Hardware security keys add meaningful protection against phishing but require purchasing at least two keys, storing a backup securely, and carrying a key whenever you might need to sign in on a new device. A recovery contact plus an updated trusted phone number covers the realistic threat model for the majority of users. High-profile individuals with elevated account risk are the primary audience for hardware security keys [7].
What is the safest place to store a recovery key?
At minimum: inside a password manager with a strong master password, and a second printed copy in a fireproof document safe or safety deposit box. Never store the only copy in a cloud service tied to the same Apple Account — if you are locked out, that copy becomes inaccessible at exactly the moment you need it.
Can I have both a recovery contact and a recovery key active at the same time?
Yes. Apple allows both to coexist. Having a recovery contact provides a human fallback, while a recovery key gives you a self-sufficient option that does not depend on another person being available. Using both is a reasonable strategy for users who want maximum redundancy.
Independent guidance for making smarter, safer decisions across the Apple ecosystem.
